Skip to main content WebCube powered email & Samsung Galaxy Note 3
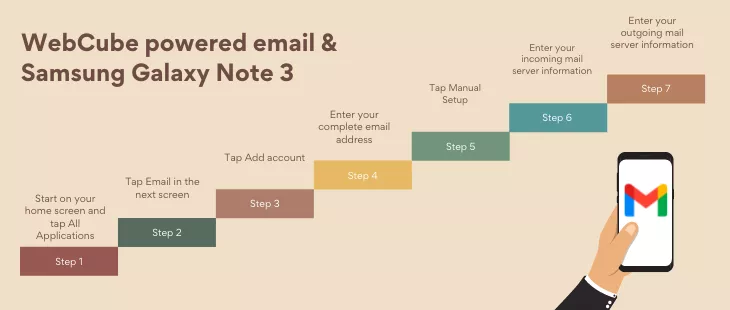
- Start on your home screen and tap All Applications.
- Tap Email in the next screen.
- If you already have an email account set up, touch Menu. If this is the first account you are adding, go to step six.
- Tap Settings
- Tap Add account.
- Enter your complete email address (including the domain name).
- Enter your Password.
- Tap Manual setup
- Enter your incoming mail server information
- Email Address: Your complete email address (including the domain name).
- User Name: Your name
- Password: Your password
- POP/IMAP server: mail.YourDomain.Extension (Example mail.webcube.ca. Do NOT use mail.webcube.ca, but your own domain name here.)
- Security Type: None
- POP3 Port: 110
- Enter your outgoing mail server information
- SMTP Server: mail.YourDomain.extension (Example mail.webcube.ca. Do NOT use mail.webcube.ca, but your own domain name here.)
- Security Type: none
- Port: 25
- Tap Next


